Blog Information
- Posted By : Hirsch Nestor
- Posted On : Nov 07, 2023
- Views : 55
- Category : Technology
- Description : Step-by-Step Guide: How to Replace a GE Refrigerator Water Filter
Overview
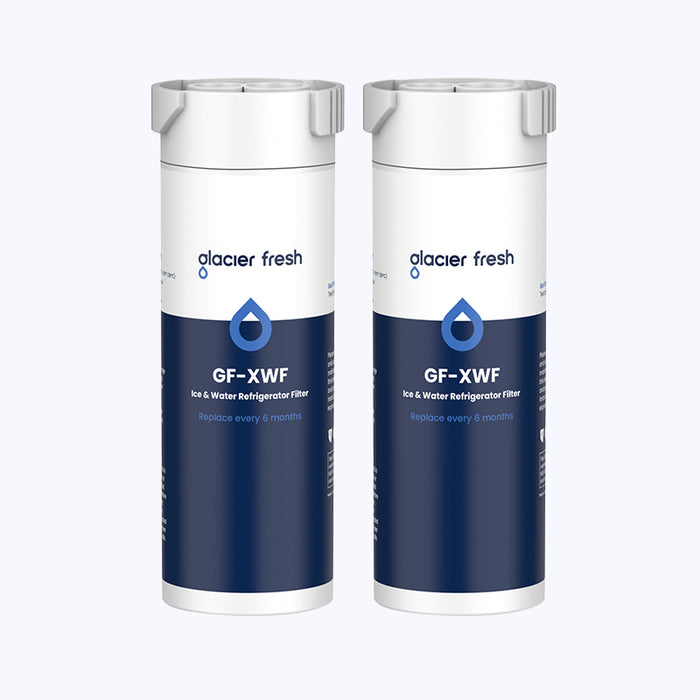
- GE Refrigerator Water Filter
Having clean and fresh water is essential for maintaining a healthy lifestyle. One way to ensure the quality of your drinking water is by regularly replacing the water filter in your GE refrigerator. In this step-by-step guide, we will walk you through the process of replacing a GE refrigerator water filter, ensuring that you have access to clean and refreshing water at all times.

Step 1: Determine the Type of Water Filter
The first step in replacing your ge refrigerator water filter is to determine the type of filter your refrigerator uses. GE refrigerators typically use either a push-button or twist-and-lock water filter. Consult your refrigerator's user manual or check the label on the existing filter to identify the correct type.
For push-button filters, you will need to press the button located near the filter to release it. For twist-and-lock filters, you will need to twist the filter counterclockwise to remove it.
Step 2: Prepare for Replacement
Before replacing the water filter, it is important to prepare the area and gather the necessary tools. Start by turning off the water supply to the refrigerator. This can usually be done by turning the shut-off valve located behind the refrigerator clockwise.
Next, locate the filter housing. This is usually located inside the refrigerator, near the top or bottom. Open the filter housing by either pressing the release button or twisting it counterclockwise, depending on the type of filter.
Once the filter housing is open, remove the old filter by either pulling it straight out (for push-button filters) or twisting it counterclockwise and pulling it out (for twist-and-lock filters).
Step 3: Install the New Water Filter
Now that you have removed the old filter, it's time to install the new one. Take the new filter out of its packaging and remove any protective caps or seals. Align the new filter with the filter housing and insert it into place.
For push-button filters, simply push the new filter in until it clicks into place. For twist-and-lock filters, twist the new filter clockwise until it locks into place.
Step 4: Flush the System
After installing the new water filter, it is important to flush the system to remove any air or impurities. To do this, run several gallons of water through the dispenser until the water runs clear. This will ensure that you are getting clean and fresh water from your refrigerator.
Once you have flushed the system, close the filter housing by either pressing it back into place or twisting it clockwise, depending on the type of filter.
Congratulations! You have successfully replaced the water filter in your GE refrigerator. Enjoy clean and refreshing water whenever you need it.
Conclusion
Regularly replacing the water filter in your GE refrigerator is crucial for maintaining the quality of your drinking water. By following this step-by-step guide, you can easily replace the water filter and ensure that you have access to clean and refreshing water at all times.
For more information on refrigerator water filters and their importance, you can visit the following credible sites:
References
