
Blog Information
- Posted By : tavernermotorsports tavernermotorsports
- Posted On : Apr 03, 2024
- Views : 286
- Category : General
- Description : Replacing a motorcycle chain is a crucial aspect of bike maintenance that ensures safety, performance, and longevity of your motorcycle. A new chain can significantly improve your motorcycle's handling and efficiency.
Overview
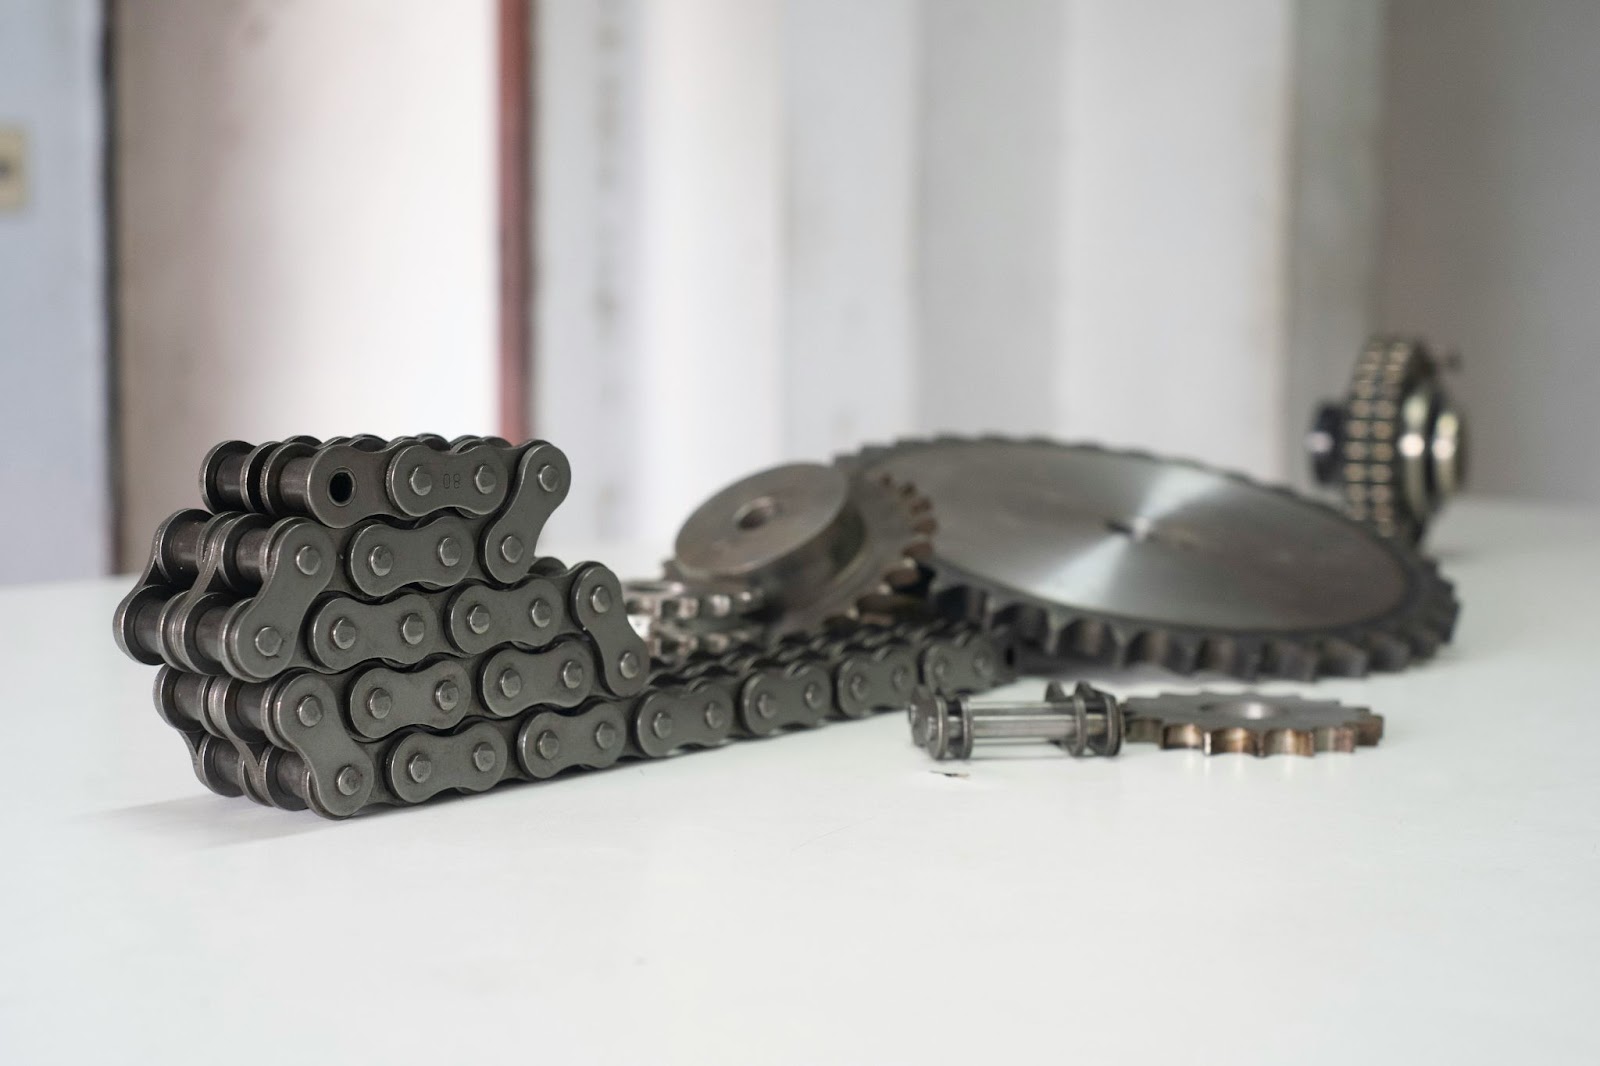
Replacing a motorcycle chain is a crucial aspect of bike maintenance that ensures safety, performance, and longevity of your motorcycle. A new chain can significantly improve your motorcycle's handling and efficiency. Taverner Motorsports brings you a comprehensive guide to fitting a new chain to your motorcycle, ensuring you can perform this essential task with confidence.
Understanding When to Replace Your Chain
Before we dive into the replacement process, it's essential to know when a chain needs replacing. Look for signs of wear such as stiff links, rust, or if the chain has reached its maximum adjustment limit. Taverner Motorsports offer regular inspection and maintenance, which can help identify the right time for a replacement, ensuring your ride remains safe and enjoyable.
Required Tools and Materials
Gathering the right tools beforehand will make the chain replacement process smoother. You will need:
- A new motorcycle chain and compatible sprockets (if required)
- Chain breaker and riveting tool
- Socket set
- Wrenches
- Torque wrench
- Screwdrivers
- Clean rags
- Lubricant
Step-by-Step Guide to Replacing Your Motorcycle Chain
Step 1: Prepare Your Motorcycle
Ensure your motorcycle is securely positioned, either on a stand or in a way that allows for easy rear wheel movement. This stability is crucial for safely performing the replacement.
Step 2: Remove the Old Chain
Using the chain breaker tool, push out one of the pins in the chain to break it. You may need to remove the chain guard and loosen the rear wheel to provide slack for easier removal.
Step 3: Clean and Inspect the Sprockets
Before fitting the new chain, inspect the sprockets for wear. If they show signs of significant wear, it's wise to replace them alongside the chain to ensure optimal performance and longevity.
Step 4: Thread the New Chain
Thread the new chain around the front sprocket and through the rear sprocket. Ensure it runs smoothly and aligns correctly with both sprockets.
Step 5: Link the Chain
Use the chain riveting tool to connect the ends of the chain. Ensure the link is securely fastened and the rivet heads are properly flared to prevent the chain from coming apart.
Step 6: Adjust Chain Tension
After fitting the chain, adjust its tension according to the manufacturer's specifications. Too tight or too loose can lead to premature wear or even damage.
Step 7: Test and Lubricate
Once the chain is fitted and adjusted, rotate the rear wheel to ensure the chain moves smoothly without kinks or binding. Finally, apply a quality chain lubricant to protect against rust and reduce wear.
Fitting a new chain to your motorcycle is a rewarding process that enhances your ride's safety and performance. By following these steps and adhering to manufacturer guidelines, you can ensure a successful chain replacement. Taverner Motorsports encourages all riders to consider regular chain maintenance as part of their routine motorcycle care, ensuring countless miles of enjoyable riding ahead.