


Popular Photos
-
302 views, 0 likes, 93 comments
-
198 views, 1 like, 49 comments
Recent Photos
-
by MRG Auto Garage 0 0
-
by MYTM Official 0 0
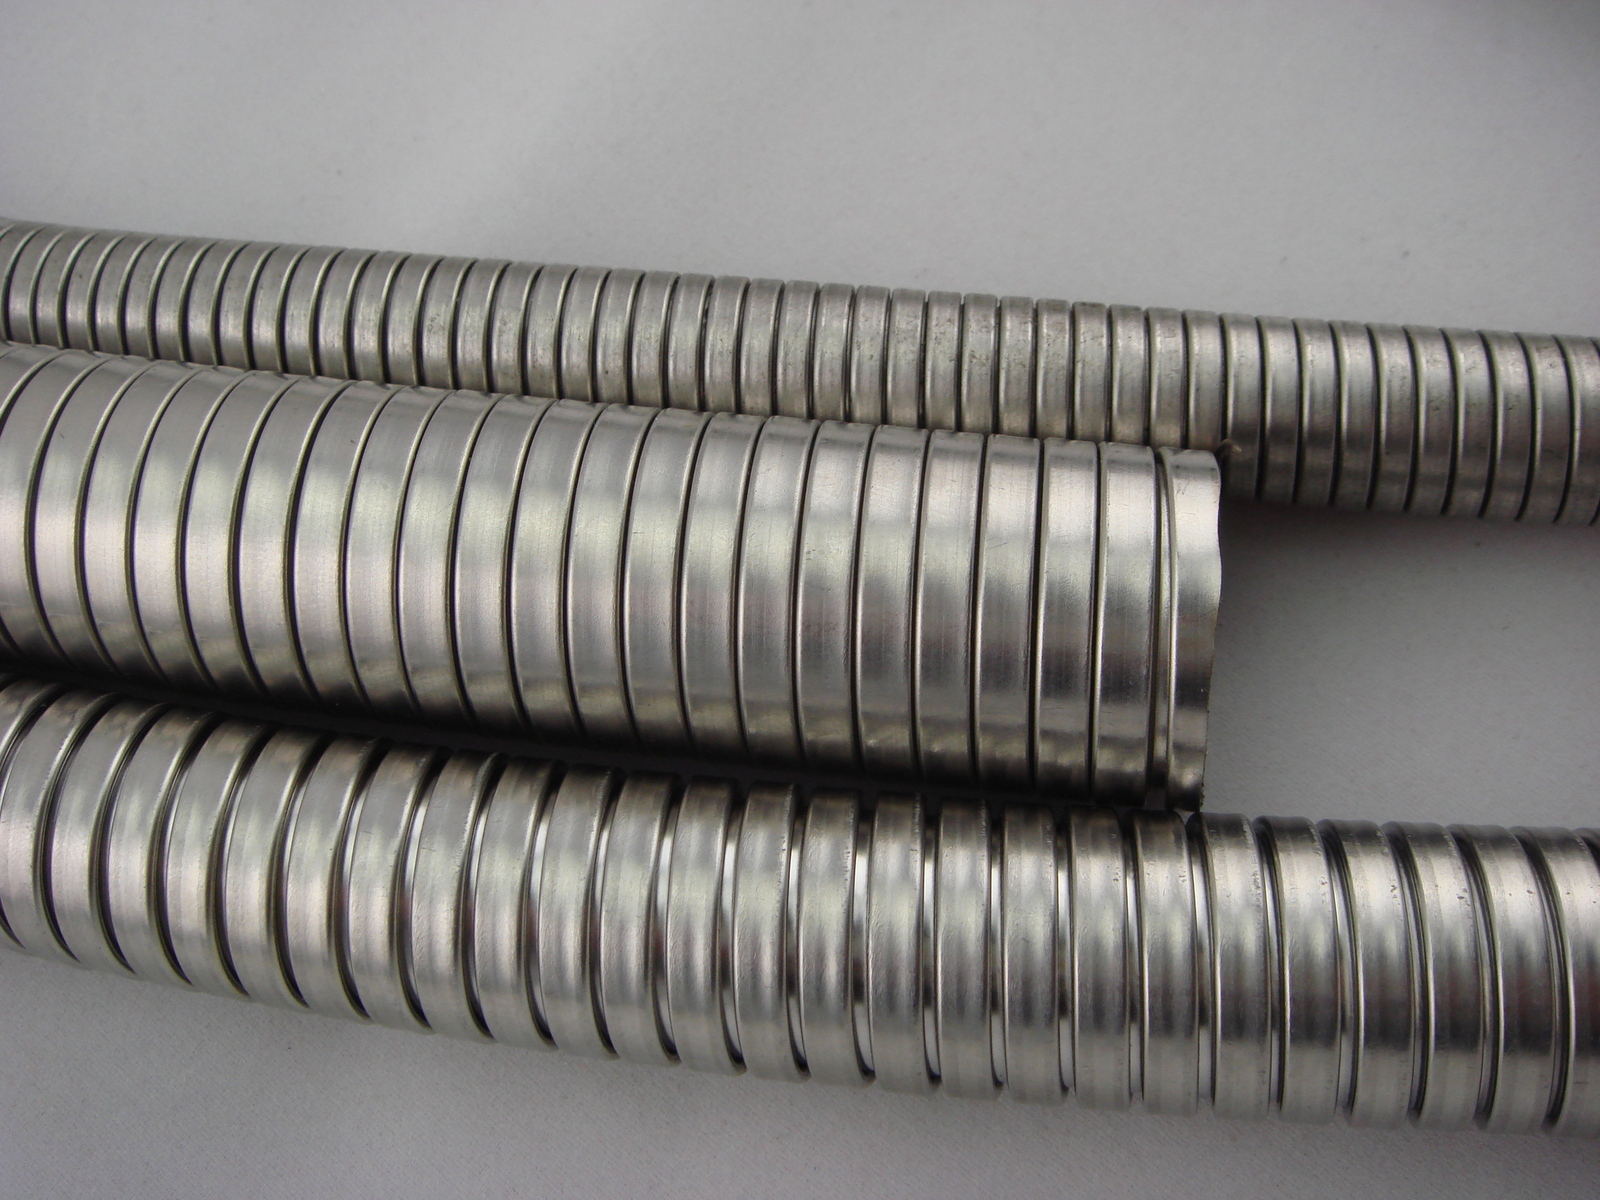
How to install the corrugated expansion joint correctly? Let's take a look at these points:
1. Before installing the compensator, check its model, specification and pipeline configuration, and it must meet the design requirements.
2. For compensators with inner sleeves, care should be taken to ensure that the direction of the inner sleeve is consistent with the flow direction of the medium. The hinge rotation plane of the hinge type compensator should be consistent with the displacement rotation plane.
3. The compensator needs to be "cold-tightened", and the auxiliary components used for pre-deformation should be removed after the pipeline is installed.
4. It is strictly forbidden to use the method of deformation of the corrugated compensator to adjust the installation tolerance of the pipeline, so as not to affect the normal function of the compensator, reduce the service life and increase the load of the piping system, equipment, and supporting components.
5. During the installation process, welding slag is not allowed to splash on the surface of the wave shell, and the wave shell is not allowed to be damaged by other machinery.
6. After the piping system is installed, the yellow auxiliary positioning components and fasteners used for installation and transportation on the corrugated compensator should be removed as soon as possible, and the limit device should be adjusted to the specified position according to the design requirements, so that the piping system has Sufficient compensation capability.
7. All movable components of the compensator shall not be stuck by external components or limit their range of movement, and the normal movement of each movable part shall be ensured.
8. During the hydraulic test, the secondary fixed pipe frame at the end of the pipeline with compensator should be reinforced to prevent the pipeline from moving or rotating.
For more information, please click here: https://www.gao-zhan.net/product/metal-garden-hose/


