


More in Politics
Related Blogs

Archivo
compartir social
Brick by Brick: Building the Perfect LEGO 10300 Display with Light Kits
Cuerpo
Introduction
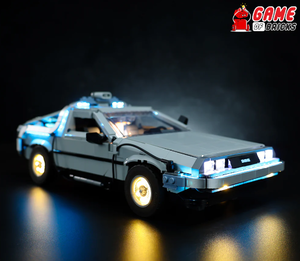
LEGO enthusiasts understand the joy of assembling intricate sets like the LEGO 10300 Modular Buildings series. However, the true magic happens when you take your creation to the next level by adding illumination. In this article, we will explore the world of LEGO 10300 light kits and guide you through the process of creating a mesmerizing display for your beloved LEGO set.
What is the LEGO 10300 Light Kit?
Before we delve into the step-by-step guide, let's first understand what a LEGO 10300 light kit is. These kits are designed to enhance the aesthetics of your LEGO masterpiece by adding LED lights and accessories. They are meticulously crafted to fit seamlessly into the LEGO bricks, illuminating your structure's intricate details.
Building Your Illuminated LEGO 10300 Display
Step 1: Gather Your Materials
To begin your lighting project, gather the necessary materials, including the LEGO 10300 set, the compatible light kit, a small screwdriver, and a power source.
Step 2: Plan Your Lighting Layout
Carefully plan where you want to place the lights. Consider highlighting architectural features, windows, or interior spaces to bring your LEGO 10300 set to life.
Step 3: Install the Lights
Follow the instructions provided with your light kit to install the LED lights. Use the small screwdriver to secure them in place, ensuring a clean and tidy appearance.
Step 4: Connect the Power Source
Connect the lights to the power source, which can be a USB port or a battery pack, depending on your kit. Test the lights to ensure they are working as intended.
Conclusion
By adding a LEGO 10300 light kit to your Modular Buildings set, you can transform it into a captivating display piece that dazzles viewers with its illuminated beauty. This DIY project allows you to showcase your creativity and attention to detail, taking your LEGO hobby to new heights. So, go ahead, build brick by brick, and watch your LEGO 10300 set come to life with the magic of light.


Comentarios