DIY Fishing Pole Wall Rack: How to Make Your Own at Home
Body
Do you love fishing but struggle to find a proper place to store your fishing poles? Look no further! In this article, we will guide you through the process of creating your very own DIY fishing pole wall rack. Not only will this rack provide a convenient storage solution for your fishing gear, but it will also add a touch of style to your home.

Materials Needed
Before we dive into the step-by-step instructions, let's first gather the materials you will need to build your DIY fishing pole wall rack:
- Wooden board
- Measuring tape
- Saw
- Sandpaper
- Screws and screwdriver
- Drill
- Paint or stain (optional)
- Level
- Pencil
- Wall anchors
Step 1: Measure and Cut the Wooden Board
The first step in creating your DIY fishing pole wall rack is to measure and cut the wooden board. Determine the desired length of your rack based on the number of fishing poles you plan to store. Use a measuring tape and a saw to carefully cut the board to your desired size.
Step 2: Sand the Board
After cutting the board, use sandpaper to smooth out any rough edges. This will prevent any splinters and ensure your rack looks polished and professional.
Step 3: Determine the Placement
Next, determine the best location for your fishing pole wall rack. Consider a spot in your garage, shed, or even a dedicated fishing room. Choose a wall where the rack can be easily accessed and won't obstruct any other items.
Step 4: Mark and Drill Holes
Using a level and a pencil, mark the desired height for your rack on the wall. Make sure the marks are level and evenly spaced. Once you have marked the positions for your rack, use a drill to make guide holes for the screws or wall anchors.
Step 5: Attach the Rack to the Wall
Line up the pre-drilled holes in your wooden board with the guide holes on the wall. Secure the rack in place using screws or wall anchors. Make sure the rack is sturdy and level before proceeding.
Step 6: Paint or Stain (optional)
If desired, you can paint or stain the wooden board to match your personal style and home decor. Choose a color or finish that complements the overall aesthetic of the room. Allow the paint or stain to dry completely before using the rack.
Step 7: Organize Your Fishing Poles
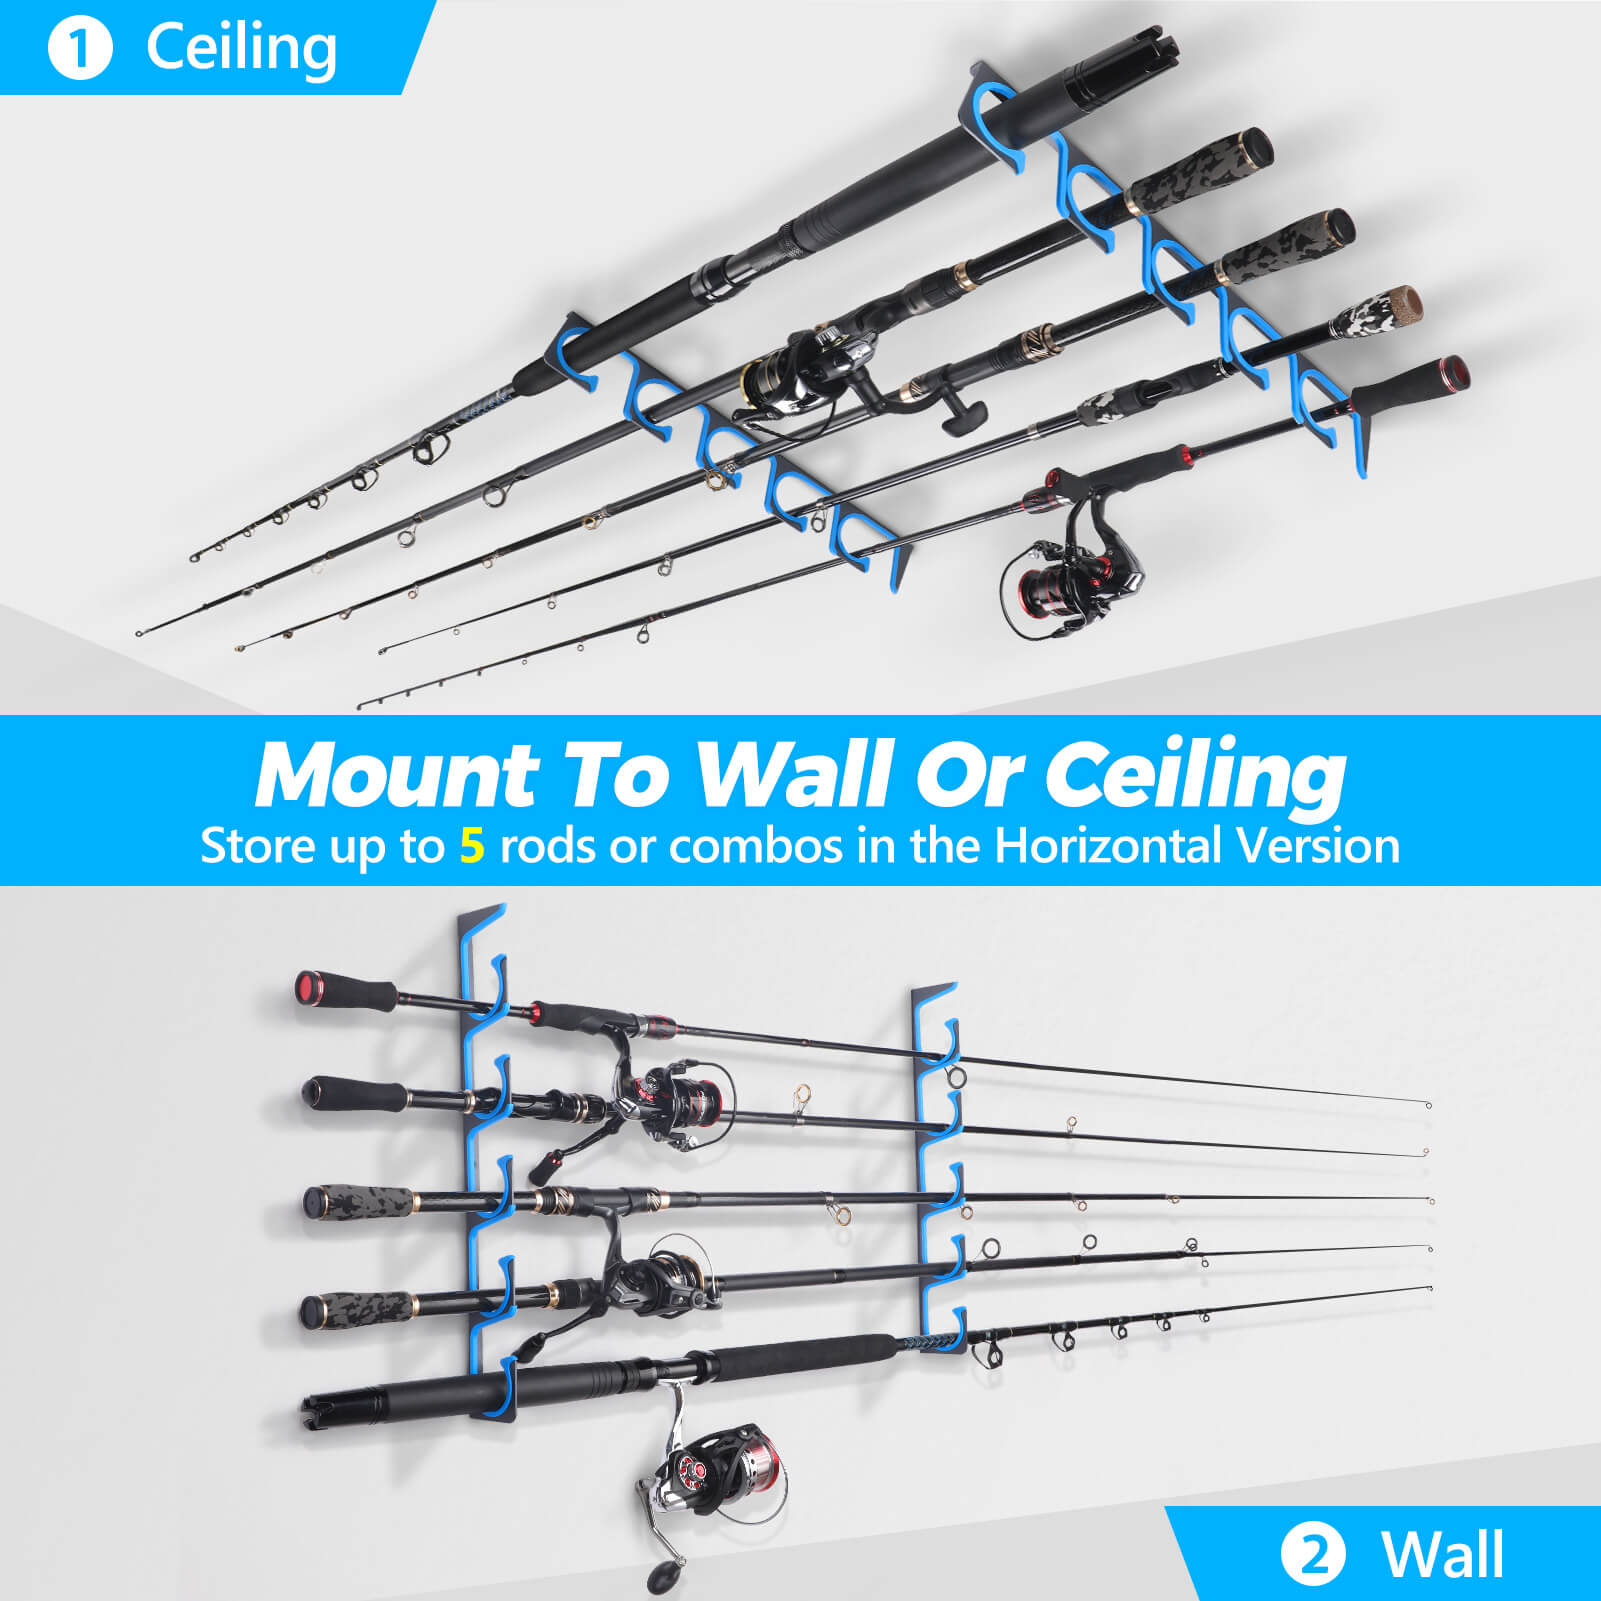
Once the rack is securely attached to the wall, it's time to organize your fishing poles. Place each pole horizontally across the rack, ensuring they are evenly spaced and secure. You may also consider using hooks or clips to keep the poles in place.
Step 8: Enjoy Your DIY Fishing Pole Wall Rack
Congratulations! You have successfully created your very own DIY fishing pole wall rack. Step back and admire your handiwork, knowing that your fishing gear is now neatly organized and within easy reach whenever you're ready to hit the water.
Now that you have learned how to make your own DIY fishing pole wall rack, why not explore some related resources? Check out the following reputable websites for more information:


Comments