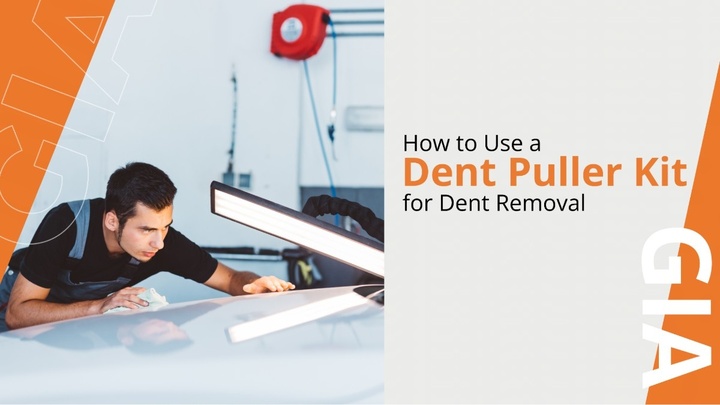
Expert Tips for Successful Dent Removal Using a Dent Puller Kit
Posté par Ben Witham
Corps

Dents and dings on your vehicle can be a major source of frustration. Even the smallest imperfections can make your car look damaged and diminish both its aesthetic appeal and value.
Significant dents typically require engaging with a professional for paintless dent repair. But many minor dents and dings can be effectively addressed at home using a dent puller kit.
What Are Dent Repair Kits?
Dent repair kits are budget-friendly tools designed to help you remove minor dings and dents from your car's body panels. These kits usually come with a variety of components, including a slide hammer, different puller tips, and occasionally extras like sandpaper.
The puller operates by leveraging physical force to pull out dents from the underside of body panels. With a bit of finesse, you can effectively smooth out dents and creases — making them far less noticeable.
Components of a Dent Repair Kit
- Slide Hammer – The main tool used to apply the pulling force.
- Puller Tips – Various tips to accommodate different sizes and shapes of dents.
- Adhesives and Tabs – Used to attach the puller to the dented area.
- Extras –Some kits include sandpaper, glue guns, and cleaning solutions to prepare the surface and finish the repair.
Dent repair kits are cost-effective and convenient solutions for fixing minor damages on your vehicle.
Professional auto body repairs can easily exceed $100 per dent. While a DIY dent repair kit normally ranges from $10 to $50. It’s a considerable cost saving that makes these kits a fairly affordable option for addressing small door dings, parking lot scratches, minor hail damage, and other minor defects.
How to Use a Dent Puller Kit for Dent Removal

Properly using a dent puller kit takes some skill and technique. Follow these expert tips for best results.
Clean the Affected Area Thoroughly
Before starting, thoroughly wash and dry the dented section of the car with soap and water. This removes any dirt, grease or debris that could impede the puller's suction. Leftover particles under the puller tip can also potentially scratch the paint. Take time to clean the dent area well for best results.
Apply Heat to Expand the Metal
Use a heat gun to gently warm the dented spot for 2-3 minutes. The heat will cause the metal to slightly expand. It makes it more malleable and easier to push back into form. Be careful not to overheat or hold heat too long in one area, especially over paint. Just use enough to make the metal more pliable.
Position the Dent Puller Properly
Firmly place the rubber suction cup directly over the deepest part of the dent. Press hard to adhere to it. You want to pull from a 90 degree angle pointing straight out over the dent's deepest point. Proper placement is key for centred force.
Use Steady, Controlled Force
Grip the slide hammer attached to the puller with both hands. Apply smooth, steady pressure straight upwards to slowly pull the dent outward. Don't aggressively jerk the slide hammer. Use just enough controlled force to gradually ease the dent up and out.
Repeat the Process if Necessary
After each pull, examine the dent to see if more correction is needed. Most dents require multiple pulls from various angles to fully remove. Simply reposition the suction cup and repeat the process until the dent has disappeared. Pulling dent removal requires patience and persistence.
Finish with Fine Sanding
Once satisfied with removal, use 400 grit sandpaper to gently smooth over the area. This helps blend any edges and create a uniform surface. Be very careful not to grind through the clearcoat. Just a light smoothing is all that's needed.
Apply Primer and Paint Match
Use a primer to cover any exposed bare metal spots, followed by touch-up paint to match the surrounding colour. Maintain protective paint layers over repairs.
Inspect and Adjust the Repair
Thoroughly examine the repair from multiple viewing angles in good lighting. Even the slightest dent will be noticeable on the flat surface. If you spot any remnants, go back with the puller from a different approach. Meticulous inspection ensures total dent removal.
Final Thoughts
While great for minor dings, dent puller kits do have limitations. Severe dents wider than 2 inches or with sharp creases will likely require professional repair methods. Attempting major damage with a basic puller often leaves a wavy surface.
In those cases, it's best to visit a reputable auto body shop equipped for more advanced dent work. They have specialised tools to address severe dents that exceed a DIY kit's capabilities. Know your limits and when it's time to call the pros.
For slight door dings and surface dimples though, a dent puller kit can be just the DIY solution needed. With care and technique, you can massage your car's panels back to smooth perfection again. Follow the steps above for quality dent removal every time.
And for body work beyond minor repairs, trust the experts at GIA Smash Repairs. Our state of the art techniques will have your car looking factory new in no time.


commentaires