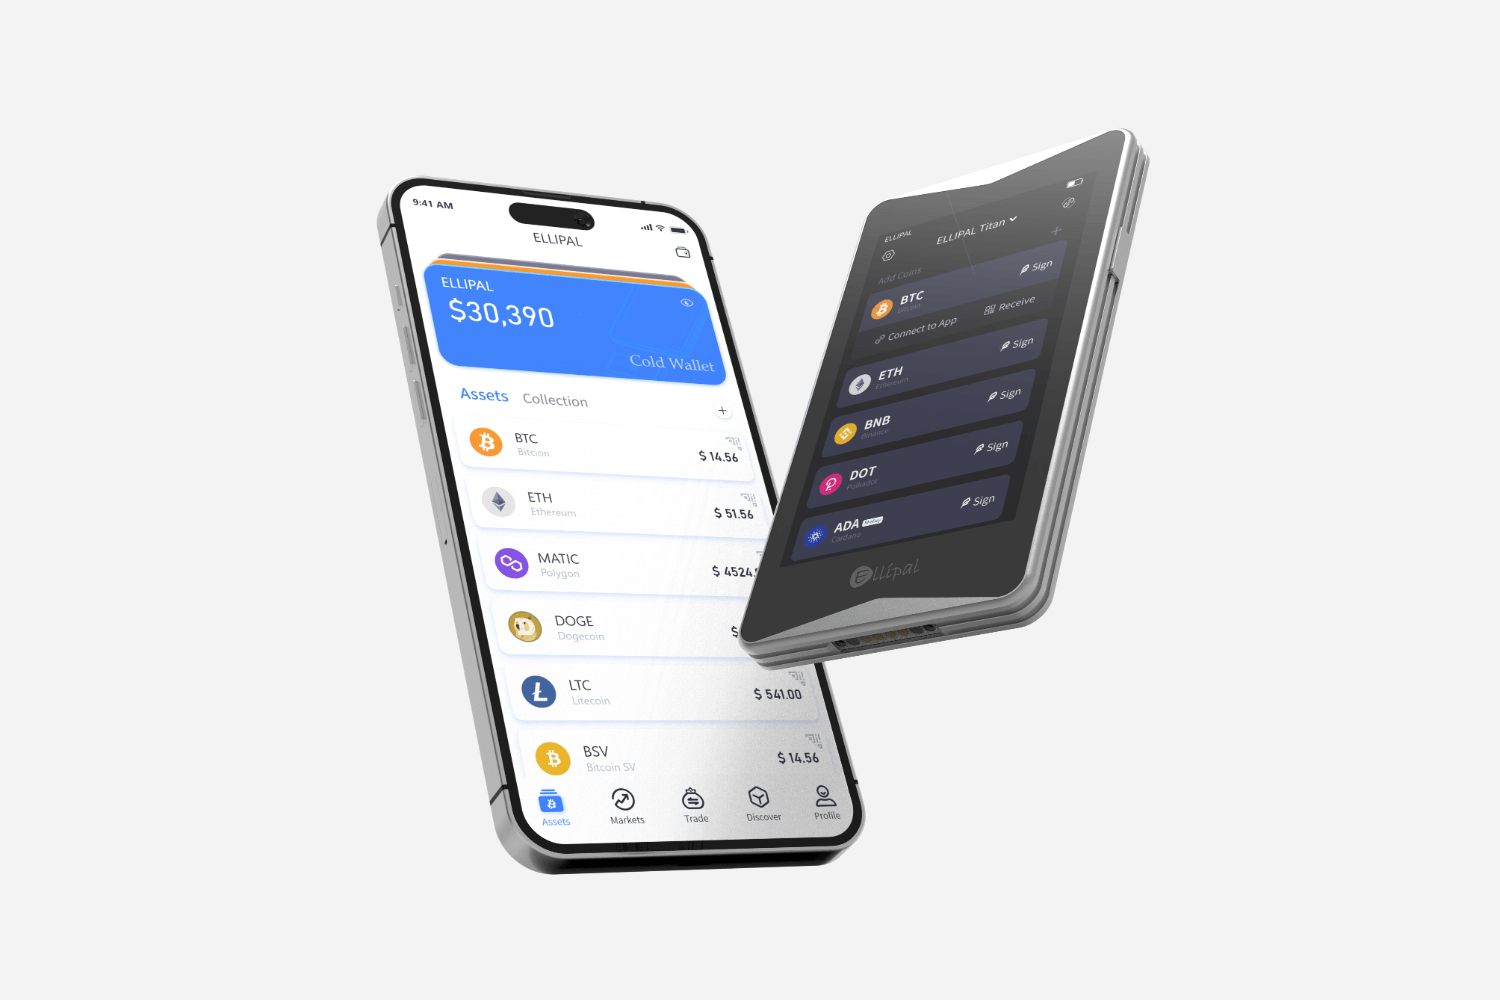
**Step-by-Step Guide to Setting Up Your First Cold Wallet**
Body
In the world of cryptocurrency, security is paramount. One of the most effective ways to safeguard your digital assets is by using a cold wallet. This guide will provide you with a detailed understanding of how to set up a cold wallet to ensure your cryptocurrencies remain secure from online threats.

What is a Cold Wallet?
A cold wallet, also known as a cold storage wallet, is a type of cryptocurrency wallet that is not connected to the internet. This disconnection makes it significantly less vulnerable to hacking attempts. Cold wallets can take various forms, including hardware wallets and paper wallets. Understanding the different types will help you choose the best option for your needs.
Why Use a Cold Wallet?
Using a cold wallet provides several advantages:
- Enhanced Security: Since cold wallets are offline, they are less susceptible to cyber attacks.
- Control Over Private Keys: You maintain full control over your private keys, which is crucial for accessing your funds.
- Long-term Storage: Cold wallets are ideal for storing cryptocurrencies that you do not plan to trade frequently.
How to Set Up a Cold Wallet
Now that you understand the importance of a cold wallet, let’s delve into the step-by-step process of how to set up a cold wallet.
- Choose Your Cold Wallet Type: Decide whether you want a hardware wallet or a paper wallet. Hardware wallets are more user-friendly and secure, while paper wallets require more technical knowledge.
- Purchase a Hardware Wallet: If you opt for a hardware wallet, buy one from a reputable manufacturer. Ensure that you purchase directly from the official website to avoid counterfeit products.
- Install the Wallet Software: After receiving your hardware wallet, download the official software from the manufacturer’s website. This software will help you manage your cryptocurrencies.
- Generate Your Wallet: Follow the instructions provided by the software to create a new wallet. During this process, you will generate a recovery seed phrase. Write this down and store it securely, as it is crucial for recovering your wallet.
- Transfer Your Cryptocurrencies: Once your wallet is set up, you can transfer your cryptocurrencies from exchanges or other wallets into your cold wallet. Always double-check the wallet address before making any transfers.
Best Practices for Cold Wallet Security
To maximize the security of your cold wallet, consider the following best practices:
- Keep Your Recovery Seed Safe: Store your recovery seed in a secure location, such as a safe or a safety deposit box.
- Regularly Update Your Software: Ensure that your wallet software is up-to-date to protect against vulnerabilities.
- Limit Access: Only access your cold wallet when necessary to minimize exposure to potential threats.
Conclusion
Setting up a cold wallet is an essential step in protecting your cryptocurrency investments. By following this guide on how to set up a cold wallet, you can ensure that your digital assets remain secure and accessible only to you. Remember, the security of your cryptocurrencies is ultimately in your hands.


Comments