


More from Wang Ruier


More in Politics
Related Blogs
Les archives
Partage Social
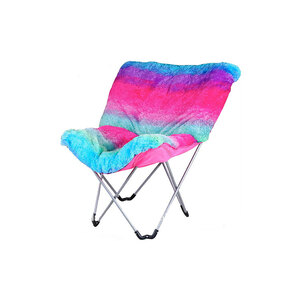
The Steps Of Recovering A Folding Chair
Corps
I’m still learning the blogging process. Please cut me some slack. I’m TERRIBLE at remembering to take pictures. I’ve always had this dive right in mentality, and i’m not used to documenting and sharing how I did it. Which is what happened with this spur of the moment project. SO I’ll just be giving you a step by step, and pulling pictures off the internet where I can.
1. Find some old folding chairs. I used basic gray ones where the padding had become ripped and crumbly from many years outdoors. This is the style that mine were, except instead of a fabric cover, mine were a plastic vinyl type of cover. The kind your butt sticks to in summer. LOL
2. I started by unscrewing the top padding. This came off rather easily. The bottom padding is attached with plastic clips. These i cut off using a hammer and sharp chisel. Then I had the two pads removed.
3. Spray paint your Folding Chair Wholesale | Zero Gravity Chair Manufacturers, if you choose. I did one red, one yellow, one copper and one white. You don’t need to cover the areas where the pads will be reattached. See photo (this is not my photo, but whomever i copied this from used two of my colors. Kudos for good taste):
4. Choose your fabric: I went digging through my scrap fabric, and just happened to have what I would need on hand. I laid the fabric out on the ground, and placed the butt pad on top. I cut the fabric to the size of the pad, with about an inch extra on all sides. I did the same with the back pad.
5. I stretched the fabric over the pads, starting in the middle, and secured with a staple gun. I would put a new staple about every inch or so all the way around. You want to pull the fabric tight enough that the fabric is smooth, but not too tight so the design doesn’t get disfigured. The butt pad is fairly simple, but the back pad required a little more effort. It is curved, so you have to keep flipping it over to the front side to make sure you aren’t getting wrinkles in your fabric.
5. Trim off the excess fabric in the back. If there is too much fabric bunched up, the pads won’t lay flat on the chair when you go to re-attach them. Also be sure you haven’t covered the screw holes with fabric. If so, re-staple if necessary and trim the excess fabric.
6. Re-attach your pads. The back pad is simple, since all you have to do is reinsert screws. We inserted another layer of thin board so the screws would have something to go through. Be sure you don’t use long screws, or you could drill a pilot hole in the bottom where the screws will go, and then file off the point of the screw, or else you will be poking your butt every time you use the chairs.
We also provide products such as outdoor camping folding table manufacturers, Please don't hesitate to contact us.


commentaires