


More in Politics

Related Blogs
Archives
Social Share
How to Set Up a Portable Oval Raised Garden Bed for Your Temporary Garden
Body
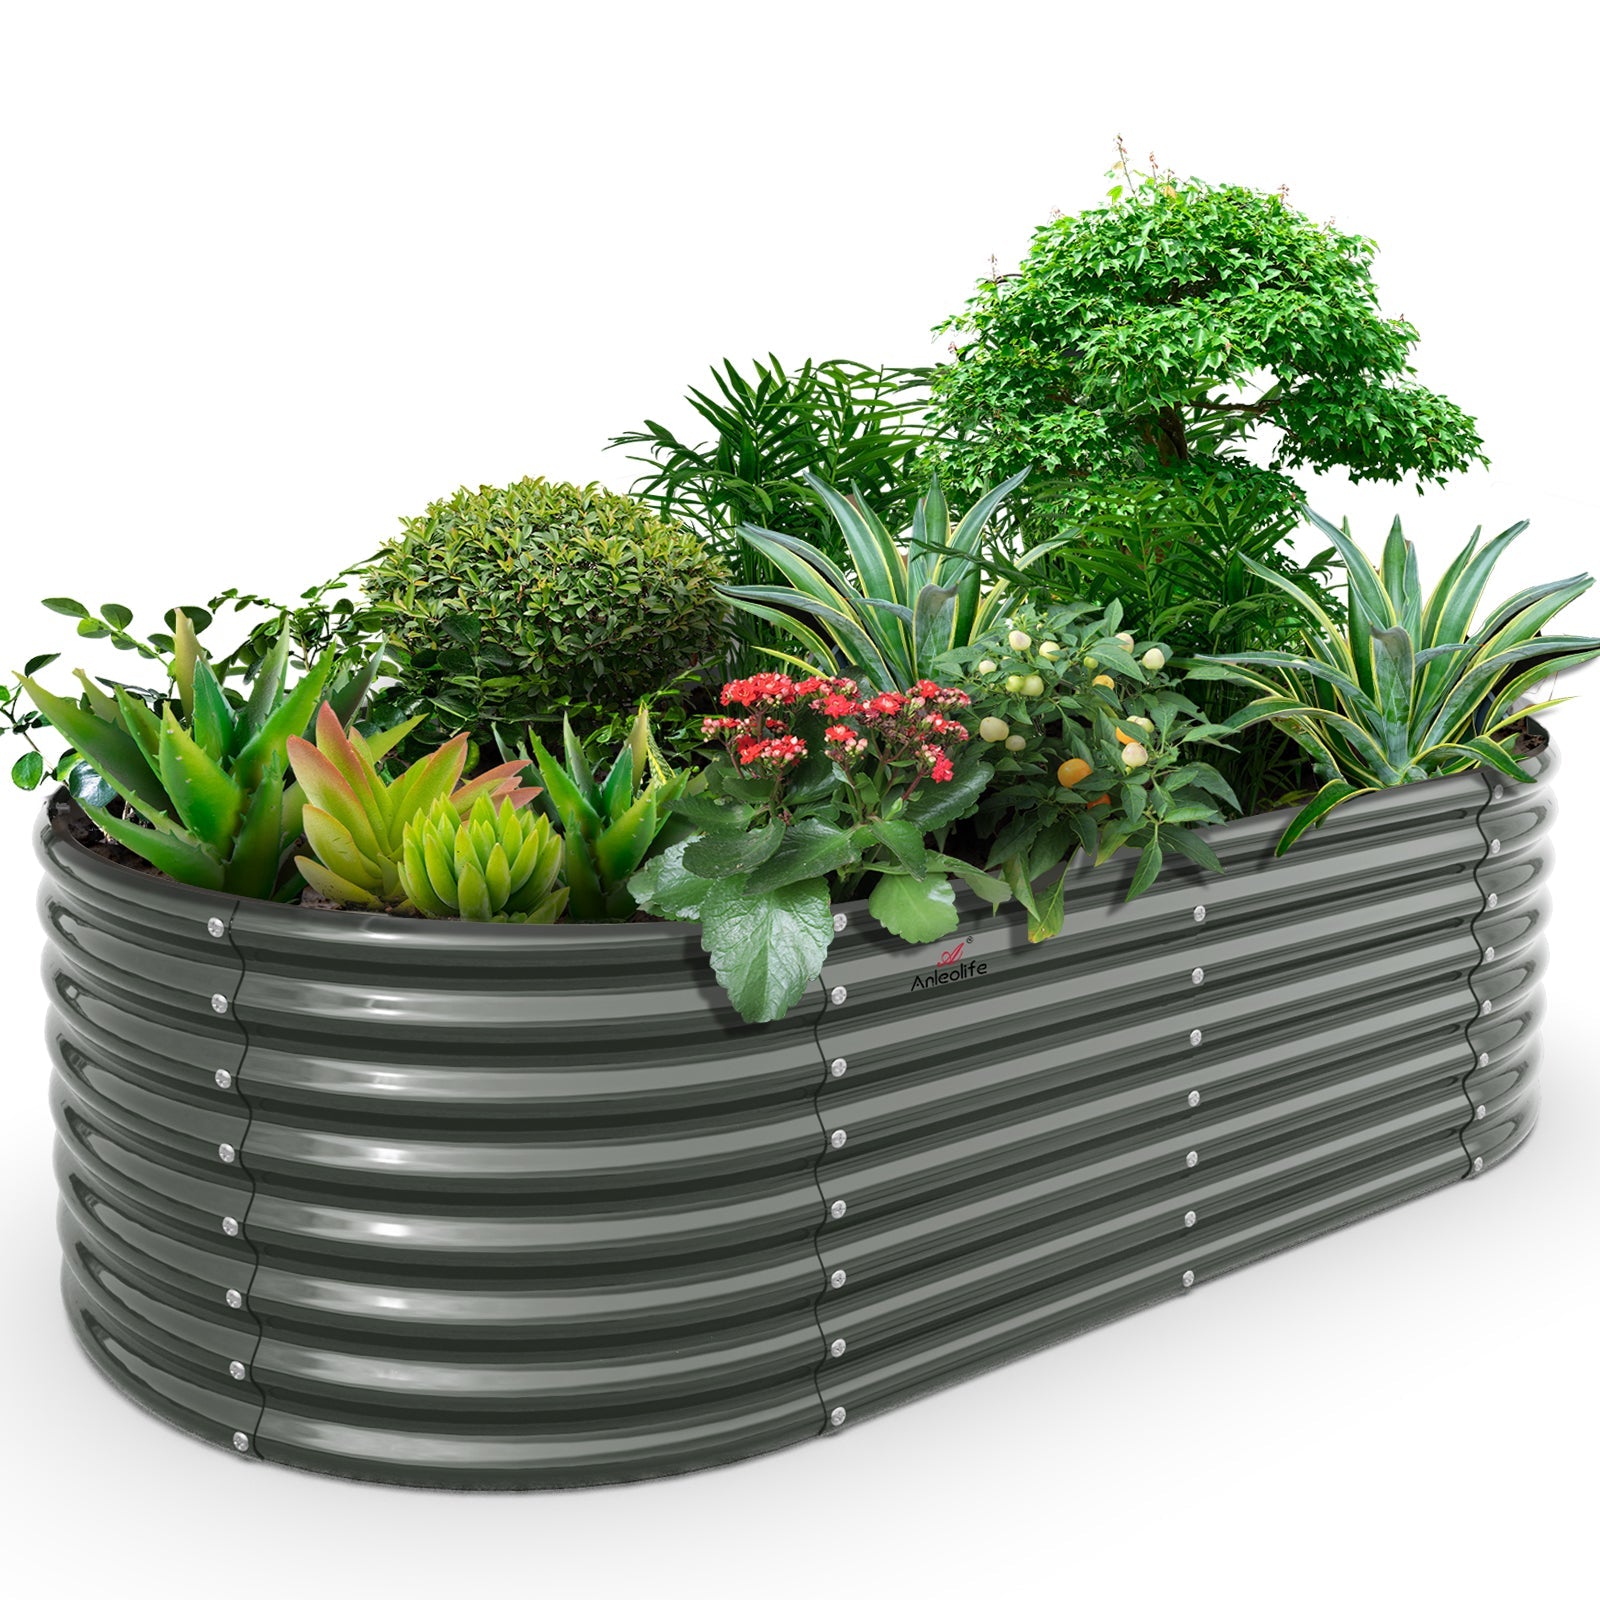
Creating a temporary garden can be a rewarding experience, especially when utilizing a portable oval raised garden bed for temporary gardens. This type of garden bed offers flexibility, ease of use, and the ability to grow plants in various locations. In this article, we will explore the benefits, setup process, and maintenance tips for your portable oval raised garden bed.
Benefits of a Portable Oval Raised Garden Bed
Why should you consider a portable oval raised garden bed for temporary gardens? Here are some compelling reasons:
- Mobility: Easily relocate your garden bed to optimize sunlight exposure or to protect plants from harsh weather.
- Soil Quality: Control the soil quality by filling the bed with nutrient-rich soil, ensuring optimal growth conditions.
- Accessibility: Raised beds reduce strain on your back and knees, making gardening more accessible for everyone.
- Space Efficiency: Ideal for small spaces, these beds allow you to maximize your gardening area.
Setting Up Your Portable Oval Raised Garden Bed
Setting up a portable oval raised garden bed for temporary gardens is a straightforward process. Here’s how you can do it:
- Select a Location: Choose a spot that receives at least 6-8 hours of sunlight daily.
- Prepare the Ground: Clear the area of weeds and debris to create a clean base for your garden bed.
- Assemble the Bed: Follow the manufacturer's instructions to assemble your portable oval raised garden bed. Ensure it is sturdy and secure.
- Add Soil: Fill the bed with a mix of topsoil, compost, and organic matter to provide a nutrient-rich environment for your plants.
- Plant Your Seeds or Seedlings: Choose plants that are suitable for your climate and the season. Consider companion planting for better yields.
Maintenance Tips for Your Temporary Garden
Once your portable oval raised garden bed for temporary gardens is set up, maintaining it is crucial for a successful harvest. Here are some tips:
- Watering: Regularly check the moisture level of the soil. Water deeply but infrequently to encourage deep root growth.
- Fertilizing: Use organic fertilizers to provide essential nutrients throughout the growing season.
- Pest Control: Monitor for pests and diseases. Use organic methods for pest control to protect your plants and the environment.
- Seasonal Adjustments: As seasons change, consider rotating crops or adjusting your planting strategy to maximize productivity.
Conclusion
In conclusion, a portable oval raised garden bed for temporary gardens is an excellent choice for gardeners looking for flexibility and ease of use. By following the setup and maintenance tips outlined in this article, you can create a thriving garden that meets your needs. For more options and to explore various designs, visit  .
.


Comments