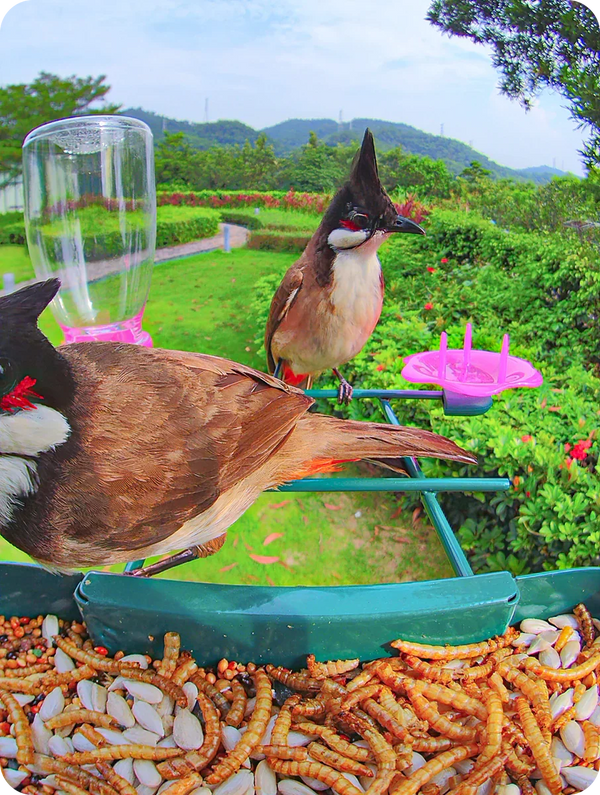
Unlock the Secret to Attracting Hummingbirds with a Camera-Enhanced Feeder!
Hummingbirds have long captured the hearts of bird watchers and nature enthusiasts with their vibrant colors and remarkable agility. These tiny creatures are not just a delight to observe; they also play a crucial role in pollination, making them an essential part of our ecosystem. As the popularity of bird watching grows, so does the interest in innovative solutions to attract these captivating birds. Enter the camera-enhanced hummingbird feeder—a modern twist on the traditional feeder that allows you to observe and document the fascinating behaviors of these feathered guests like never before. In this article, we will explore how to set up and use a hummingbird feeder with a camera, as well as the many benefits that come with it, ensuring that your backyard becomes a haven for these enchanting birds.

Understanding Hummingbirds and Their Feeding Habits
Hummingbirds are known for their incredible flying abilities, which include hovering in mid-air and flying backward. These remarkable traits are fueled by their diet, primarily consisting of nectar from flowers. They have specialized tongues that allow them to sip nectar efficiently, and their preference for certain flower shapes means that providing a feeder can significantly influence their presence in your yard. Hummingbirds are also attracted to bright colors, especially red, which is why many feeders incorporate this hue into their design. Additionally, the placement of your feeder is crucial; it should be located in a spot that is visible and safe from predators. Ideally, placing the feeder near flowering plants can enhance your chances of attracting these delightful birds.
Benefits of Using a Camera-Enhanced Hummingbird Feeder
The integration of a camera with a hummingbird feeder opens up a world of possibilities for bird watchers. One of the most significant advantages is the ability to capture unique moments that you might otherwise miss. Imagine witnessing a hummingbird feeding at dawn or engaging in courtship displays—all from the comfort of your home. These cameras can also help you monitor feeder activity, allowing you to observe feeding patterns and identify different species visiting your yard. This not only enhances your bird-watching experience but also contributes to your understanding of local hummingbird populations. Additionally, sharing these captured moments with friends and fellow bird enthusiasts can foster a sense of community and inspire others to appreciate these beautiful creatures.
Setting Up Your Hummingbird Feeder with Camera
Setting up a hummingbird feeder equipped with a camera may seem daunting, but it can be a straightforward process when broken down into manageable steps. Start by selecting a feeder that fits your needs—one that is compatible with your camera system. Next, choose a location that provides a clear view for the camera while also being accessible for maintenance. Ideally, your feeder should be placed in a shady area to prevent nectar from spoiling quickly, yet still visible from your favorite viewing point. Once you have chosen the location, secure the camera to ensure it captures the best angles. When it comes to nectar preparation, use a mixture of four parts water to one part sugar, bringing it to a boil to dissolve the sugar. Allow it to cool before filling the feeder. This simple nectar solution mimics the natural food sources that hummingbirds seek out.
Tips for Effective Setup
To optimize the setup of your hummingbird feeder with a camera, consider a few additional tips. Avoid placing the feeder in direct sunlight, as this can heat the nectar and spoil it more quickly. Instead, find a balance between shade and visibility. Position your feeder where you can easily view it from a window or patio, ensuring you won't disturb the birds as they visit. Additionally, consider using a camera with good low-light capabilities to capture those early morning or late evening visits.
Maintenance and Best Practices
Regular maintenance is crucial for both your hummingbird feeder and camera to ensure they function optimally. Clean the feeder every few days, especially in warmer weather, to prevent mold and bacteria from developing. Use a mixture of hot water and vinegar for cleaning, and be sure to rinse thoroughly. Refill the nectar as needed, typically every few days, but be mindful of how quickly the birds consume it. For the camera, check its battery life regularly and clean the lens to ensure clear images. If you notice any issues with the feeder, such as leaks or blockages, address them promptly to maintain a welcoming environment for your feathered friends.
Enhancing Your Bird-Watching Experience
In conclusion, a camera-enhanced hummingbird feeder can transform your backyard into a vibrant hub for these exquisite birds. By understanding hummingbird behaviors, setting up your feeder correctly, and maintaining both the feeder and camera, you can enjoy an unparalleled bird-watching experience. The joy of capturing their unique moments will not only deepen your appreciation for nature but also inspire those around you to engage with the beauty of wildlife. So, grab your camera, set up your feeder, and get ready to witness the incredible world of hummingbirds right in your own backyard!


Comments