- الكلمات - #BLOG
-
- آخر تحديث ٢٣ أكتوبر، ٢٠٢٣ تعليق ٠ , ٩٨ views, ٠ مثل
More in Politics
Related Blogs
أرشيف
The 6 Step Guide to Converting Your Regular Skateboard into a Motorized One
منشور من طرف Martz Brown
٢٣ أكتوبر، ٢٠٢٣
الجسم
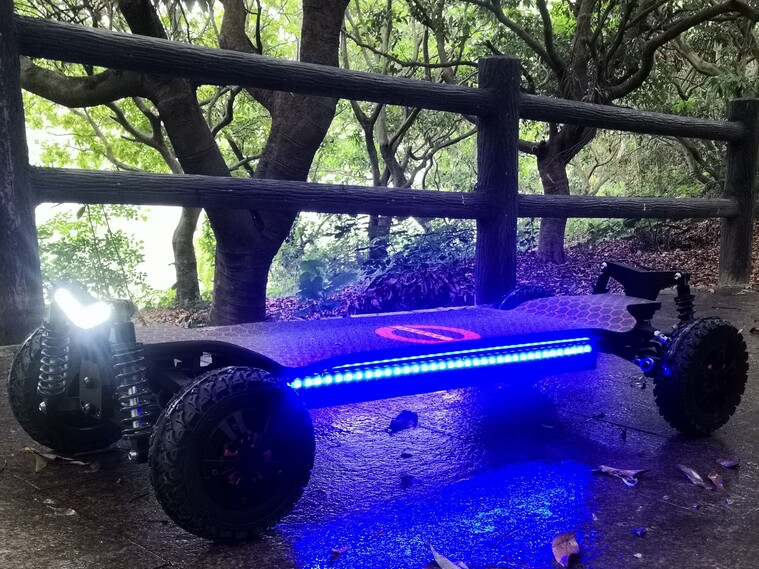
 Skateboarding has been a popular activity, especially among teenagers, for decades. The thrill of cruising down the street or performing tricks at the skate park can be exhilarating. However, for those looking to enhance their skateboarding experience, a motorized skateboard may be worth considering. In this article, we will provide you with a 6-step guide on how to convert your regular skateboard into a motorized one. Step 1: Choose the Right Motor The first step in converting your regular skateboard into a motorized one is choosing the right motor. There are various motors available in the market, ranging from brushless to brushed ones. The brushless motor is considered a better option, as it is more efficient and requires less maintenance. Step 2: Select the Right Battery The next step is to choose the right battery to power your motor. lithium-ion batteries are considered the best option for skateboard motorized, as they are lightweight and can provide sufficient power to the motor. Step 3: Install the Motor and Battery Once you have chosen the motor and battery, the next step is to install them on your skateboard. The motor is generally mounted on the rear truck, while the battery can be mounted either on top of the board or underneath it. Step 4: Install the Controller The controller is a crucial component of a motorized skateboard, as it controls the speed and direction of the board. The controller is generally attached to the board with adhesive, and it can be placed on the top or bottom of the board, depending on personal preference. Step 5: Connect the Components After installing the motor, battery, and controller, the next step is to connect them. Ensure that all the components are securely connected and that the wiring is neat and tidy. Step 6: Test and Adjust Once you have completed the installation process, it's time to test the motorized skateboard. Check the speed and direction controls to ensure that they are working correctly. If you experience any issues, adjust the settings accordingly until you get it working correctly. In conclusion, converting your regular skateboard into a motorized one may seem like a daunting task. However, by following the steps outlined above, you can easily convert your skateboard into a motorized one. The benefits of having a motorized skateboard include an enhanced skateboarding experience, faster speeds, and the ability to travel longer distances without getting tired. With the right tools and a little bit of patience, you can easily convert your regular skateboard into a motorized one and enjoy the ride of your life. So, go ahead and give it a try today!


تعليقات