


More in Politics
Related Blogs
Archives
Social Share
Maximize Space and Efficiency: DIY Fishing Pole Rack
Posted By Campbell Lowe
Body
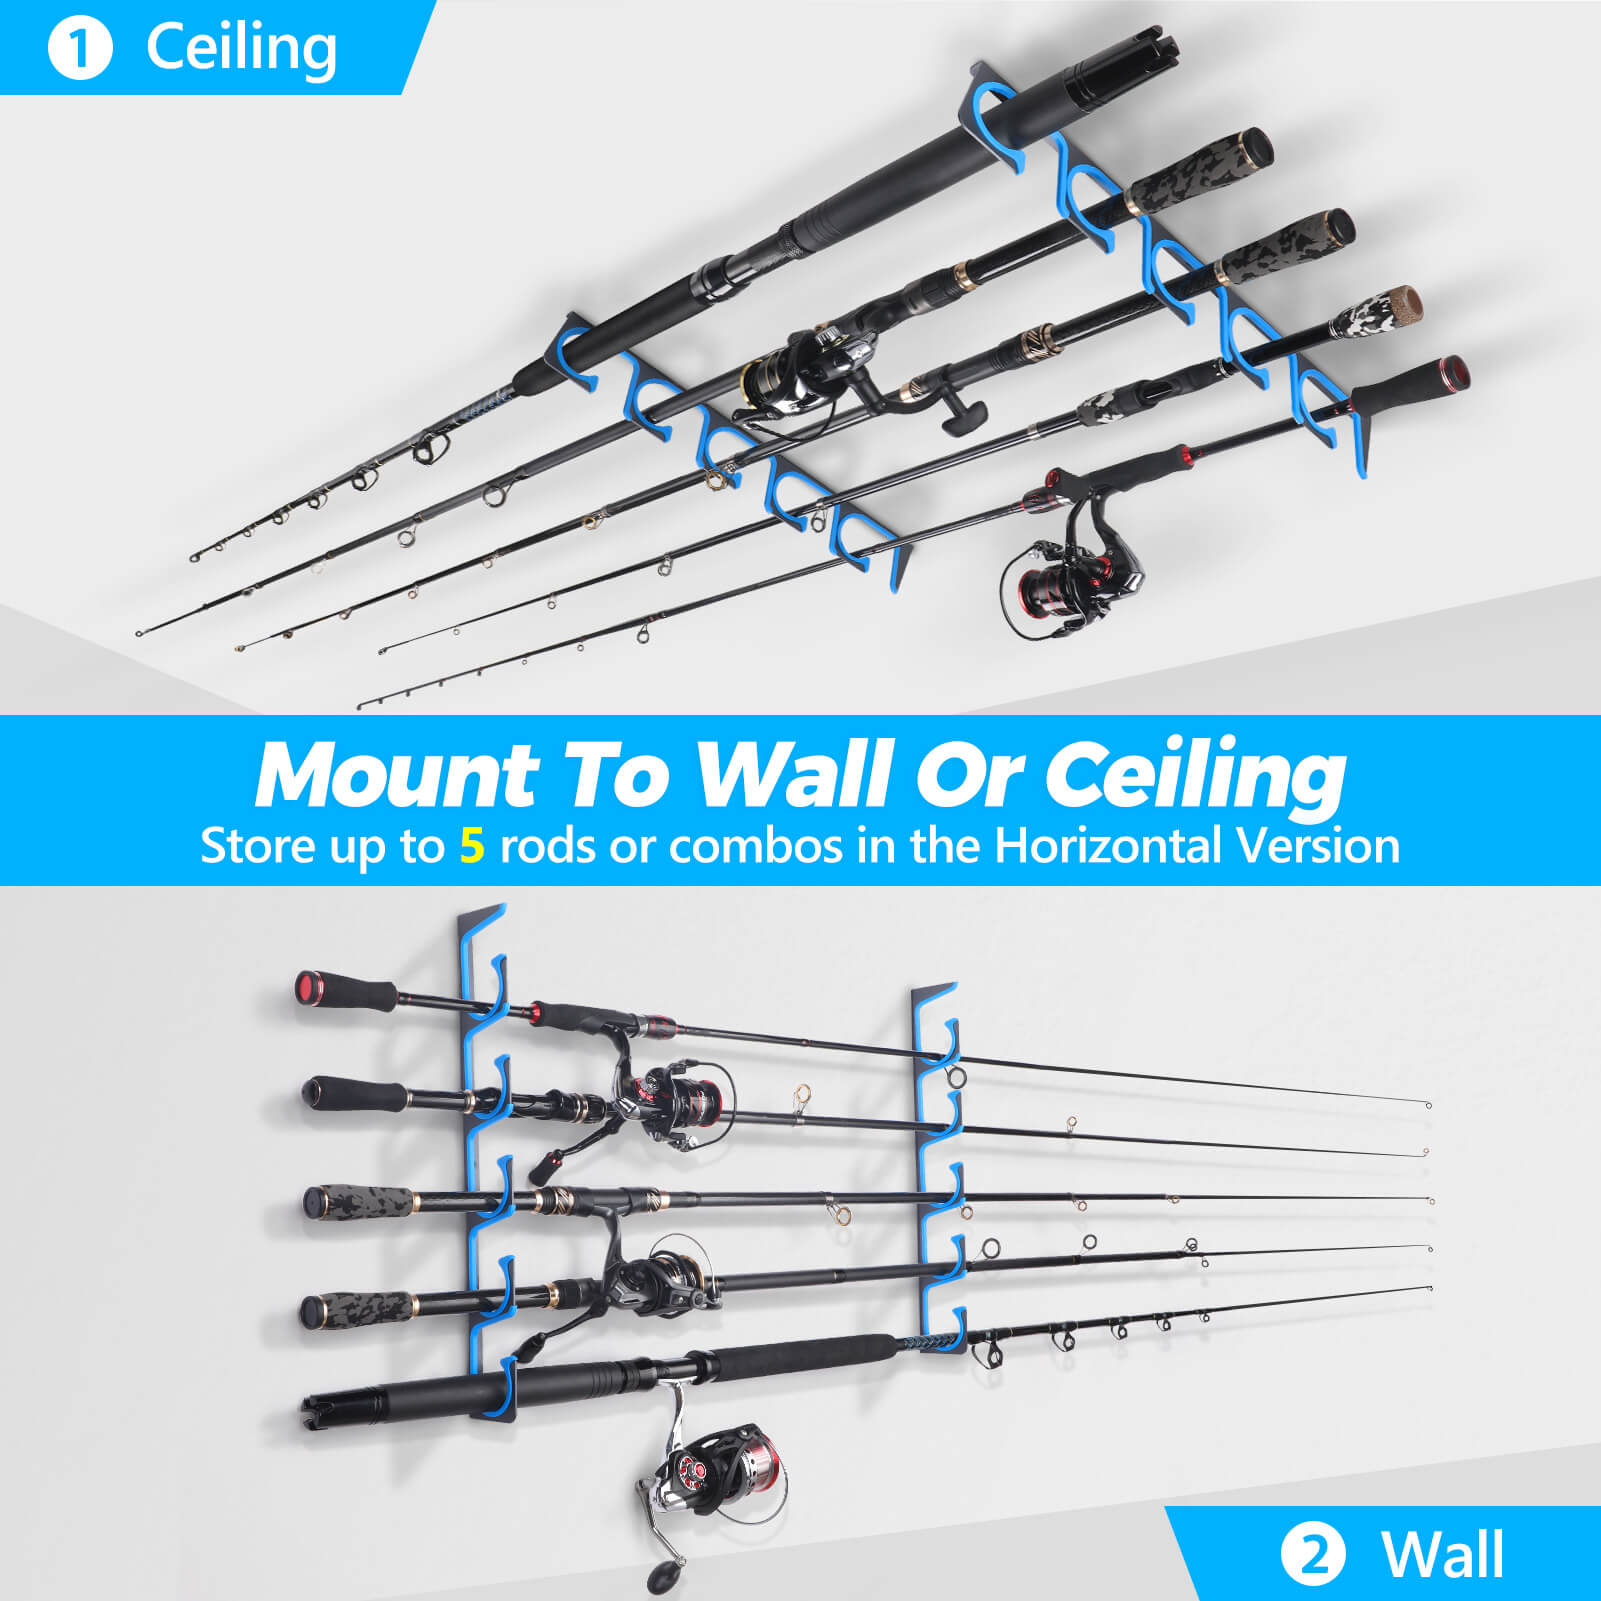 Maximize Space and Efficiency: DIY Fishing Pole Rack Fishing is a great way to relax, unwind and connect with nature. However, organizing your fishing gear can be a daunting task. One item that can quickly become tangled and disorganized is your collection of fishing poles. A great solution to this problem is a fishing pole rack. A fishing pole rack keeps your poles organized, easily accessible and safe from damage. In this article, we will guide you through the process of building a DIY fishing pole rack. Materials Needed To build a DIY fishing pole rack, you will need a few materials, including: 1. 1x3 or 1x4 lumber 2. Screws 3. Drill 4. Saw 5. Measuring tape 6. Sandpaper Step 1: Measure and Cut the Lumber The first step is to measure and cut the lumber. The size of the lumber will depend on the number of poles you need to store. For this project, we will be using 1x3 lumber. Cut three pieces of lumber to the desired length of the rack. The length of the rack will depend on the space available and the number of poles to be stored. For example, if you have six fishing poles, a rack with a length of 36 inches would be ideal. Step 2: Sand the Lumber Once the lumber is cut, sand each piece to smooth any rough edges. Use sandpaper to sand the surfaces of each piece of lumber until they are smooth. Step 3: Drill Pilot Holes Next, drill pilot holes for the screws. The pilot holes will prevent the wood from splitting when screws are used. Drill two pilot holes at each end of the lumber. Step 4: Assemble the Rack Using the pilot holes as a guide, screw the pieces of lumber together to assemble the rack. The pieces of lumber should be screwed together at right angles. The result should be a box-like shape. Once the rack is assembled, decide on the best location to install it. An ideal location for a fishing pole rack is in a garage, shed or any other place where the poles can be stored away from the elements. Step 5: Mount the Rack Next, mount the rack to the wall or another location. Locate the studs in the wall and screw the rack into the studs using screws. Step 6: Place the Fishing Poles Finally, place your fishing poles in the rack. Try to ensure that each pole has its own dedicated slot to avoid tangling. Conclusion A fishing pole rack is a great way to keep your fishing poles organized, safe, and easily accessible. Building a DIY fishing pole rack is simple, cost-effective, and can be customized to fit your needs. With just a few materials and some basic tools, you can build your own fishing pole rack in no time. Follow the steps outlined in this article to create a DIY fishing pole rack that will maximize space and efficiency.


Comments