-
 Find in Members
 Find in Videos
 Find in Channels
This website uses cookies to ensure you get the best experience on our website.
To learn more about our privacy policy Click herePrivacy Preference
- Tags - #Wooden Crafts Wholesale
-
- Last updated April 8, 2021 0 comments, 180 views, 0 likes
More from jingdian classic
More in Politics
Related Blogs
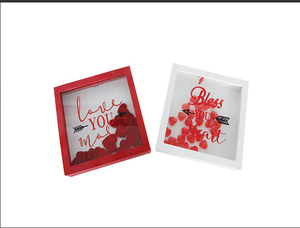
DIY Valentine’s Day Sign- Valentine's Day Wooden Crafts
Body
Hi everyone! Let’s learn how to make this DIY Valentine’s Day Sign so you can decorate for Valentine’s Day! This is a chalkboard sign, so you can even change what it says every year. I love decor that can be slightly changed and reused. Here’s what you’ll need.
DIY Valentine’s Day Sign- Valentine's Day Wooden Crafts
Supplies:
Wood sign. I found this at Target, but you can use any style you like or just a piece of cut plywood.
Paint palette or paper plate.
Chalkboard paint.
Foam or regular paintbrush.
Chalk markers! I love using these for decor signs because they stay in place until you wipe them off with a wet cloth. However, if you want to change the message regularly, I recommend using standard chalk.
Washi tape, stickers, or other decorations.
Start by painting your sign with the chalkboard paint. You’ll need at least 2-3 coats, and make sure to let the paint cure for 24-48 before use. Your specific brand of paint may have different instructions, so make sure to double check.
Let’s add some decoration! I liked that my sign looked like a piece of paper, and so I just added a stripe of pink washi tape down the side. You can add stickers, foam stickers, gemstones, or whatever you would like! Just make sure to leave plenty of room to write your messages. I like playing around with different lettering styles, so for the word “happy,” I wrote in big capital letters, and then went back and thickened up the downstroke of each letter to create a faux calligraphy style.
“Valentine’s” was written in standard cursive, and then “day” was written the same way we did “happy.” Feel free to try a variety of lettering, though I suggest practicing on plain paper first if you’re not used to creative lettering. When you message is all written, you can add some extra decor or do what I did and doodle! I doodled a variety of different hearts and arrows, but the only limit is your imagination!
You can either hang your sign up on the wall if it has an attached hanger or using something like command strips.
Or you can lean it against the wall on a bookshelf or a corner. So cute! I hope you have fun making this DIY Valentine’s Day Sign!
We also have some interesting wooden crafts for sale,Let's share next time.


Comments